The Process of Installing Car Window Tint in North Little Rock | Expert Guide
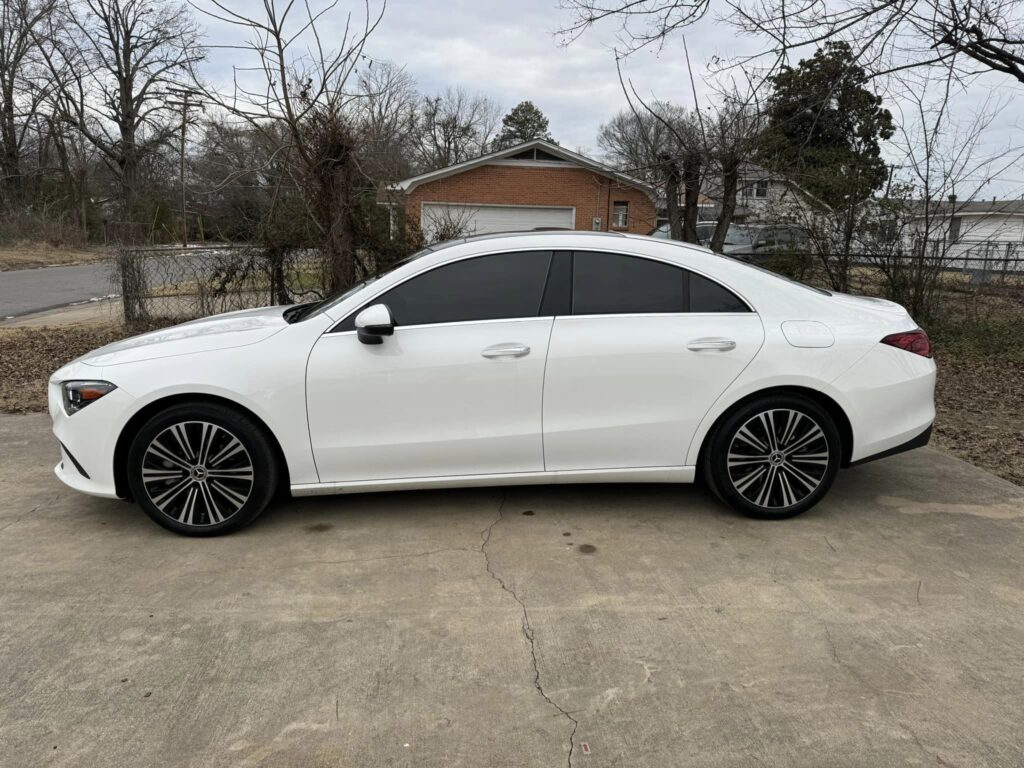
Car window tinting is more than just an aesthetic upgrade—it’s a practical enhancement that provides benefits like privacy, UV protection, heat rejection, and improved aesthetics. If you’re a driver in North Little Rock, Arkansas, you’ve likely seen cars with that sleek, darkened glass, making them look more stylish while offering much-needed comfort on hot summer days. Installing window tint is a detailed process that requires precision and expertise. From selecting the right film to the final installation, understanding the steps involved ensures that your tint job will not only improve your car’s appearance but also last for years to come. So, how exactly does the window tint installation process work in North Little Rock? In this comprehensive guide, we’ll take you through each step of the window tinting process, explore the various types of tint films available, and give you tips on what to look for when hiring a professional tinting service. Let’s dive in! What Is Window Tinting? Before we get into the specifics of the installation process, let’s take a quick look at what window tinting is. Window tinting involves applying a thin film to your car’s windows to reduce the amount of light, heat, and UV rays that enter the vehicle. It’s typically made from polyester or other durable materials, with options ranging from dyed, metalized, to ceramic films, each offering different benefits. In North Little Rock, where the sun can be intense, heat rejection and UV protection are major reasons why people opt for window tinting, but the style factor is equally appealing. With that understanding, let’s move on to the process of installing window tint in your vehicle. Step 1: Choosing the Right Tint for Your Car Understanding the Different Types of Tint Films One of the first decisions you’ll need to make before the installation process is selecting the right type of film for your car. There are several options available, and the right one depends on your needs, preferences, and budget. Dyed Film Metalized Film Ceramic Film Carbon Film Consider Your Local Laws Before you make your decision, keep in mind that North Little Rock has specific regulations regarding the legal darkness of your window tint. Arkansas law mandates that the front side windows cannot have a tint darker than 25% light transmission, while the back windows can be as dark as you like, provided the car has side mirrors. Always check local regulations or consult with a tint professional to ensure that your chosen film complies with the law. Step 2: Preparing Your Car for Window Tinting Cleaning Your Car’s Windows Before any tinting can be done, your car’s windows must be thoroughly cleaned. Dirt, grease, and dust can interfere with the film’s adhesion to the glass, leading to bubbles, peeling, and an uneven finish. A professional tint installer will use a special cleaning solution to ensure that the glass is free of any debris. Tip: If you’re installing the tint yourself, use a microfiber cloth and a gentle cleaning solution to clean the windows, especially the edges where dirt tends to accumulate. Removing Any Previous Tint (if applicable) If your car has been tinted before, the old tint film needs to be removed before installing a new one. This can be a tricky process, as the adhesive from the old film can leave residue on the glass. In many cases, professional installers will use steam to soften the adhesive and remove the old film without damaging the window. Step 3: The Tint Installation Process Precision Cutting Once your windows are clean and ready, the next step is the actual installation of the tint film. The installer will measure and cut the film according to your vehicle’s window sizes. This step requires precision, as even a small mistake can lead to ill-fitting tint that won’t look aesthetically pleasing. Most professionals use a pattern cutting method or computerized cutting systems to ensure a perfect fit. Applying the Film Once the film is cut to the right size, it’s time for the installer to apply the tint to the inside of the windows. The film is carefully sized and aligned on the window, ensuring that it fits perfectly, covering the entire glass surface without any gaps. Tip: Professional tint installers use application solution to keep the film from sticking prematurely during installation. The solution allows the installer to adjust the film for a perfect fit. Smoothing Out the Film After the film is in place, the installer uses a squeegee to remove any air bubbles and water from between the film and the glass. This step ensures that the film adheres smoothly and evenly to the window. If not done properly, air bubbles can form, causing the tint to look uneven and unprofessional. Step 4: Curing and Drying Allowing the Film to Cure Once the tint is applied, it needs time to cure. The curing process allows the adhesive to bond firmly to the glass. During this time, you should avoid rolling down the windows for at least 24-48 hours, depending on the type of film used. Tip: Avoid using your car’s window defrosters or direct sunlight on the windows during the curing process to prevent peeling. Post-Installation Inspection After the film has had time to set, a professional installer will conduct a final inspection to ensure that there are no defects, air bubbles, or imperfections in the tint. This inspection is important to confirm that the film is aligned correctly and there are no issues with the installation. Step 5: Maintaining Your Tinted Windows Care for the First Few Days After the installation, your windows are technically “tinted,” but they will need some special care in the first few days. As mentioned earlier, you should refrain from rolling down the windows for at least 24-48 hours. Additionally, avoid washing the windows for the first week to ensure the tint adheres properly and the edges don’t peel. Regular Maintenance To ensure that your tint remains in top condition, make sure to clean the